Publishing a Checklist to someone outside of the Clever Checklist system.
When you create a new Checklist or working an an existing open Checklist you can invite other people to help do the work.
When starting a new Checklist:

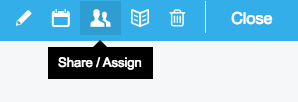
When using an existing open Checklist you can share from the Top Menu.
Or add people from participant indicator section of the checklist:

This opens up the sharing modal:
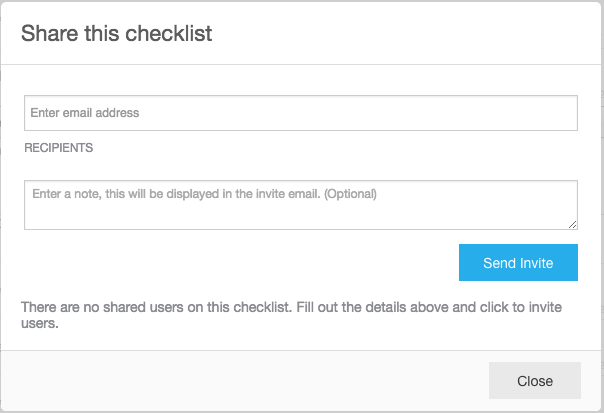
Recipients
Assign a Checklist
Assigned Users are other people with logins on your account. When they receive a notification they log into their Clever Checklist account and can access that and any other parts of the system they have access to.
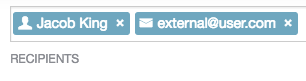
When you type in their names or email addresses into the RECIPIENTS field you see these people with a PERSON icon in front of their name.
Share a Checklist
Shared Users are anyone with an email address. This is for dealing with 3rd party people who you do not want to have access to the rest of your system. They receive a link for the Checklist you have shared with them and can only access that page. They are not required to login and anyone with the link will present to the system as that user.
When you type in email addresses to share with you will see an EMAIL icon in front of their address.
Email notifications
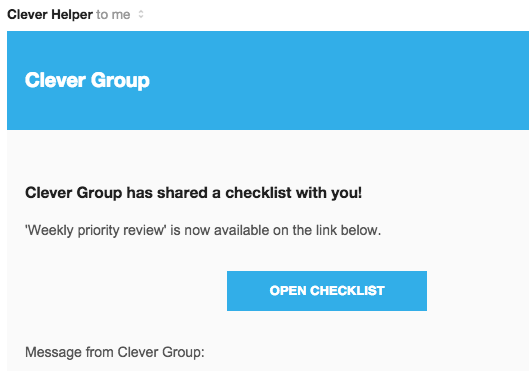
Emails are sent to all involved parties when a Checklist is shared.
If it is an Assigned user they will receive a link directly to the Checklist and will need to login with their account details.
If it is a Clever Share user they will receive a special link that only allows them to see and submit that shared Checklist.
Both types of users receive any extra notes you put into the Notes field in the email.
Revoking access.
To revoke access to a Checklist to a Clever Share user open the Sharing panel on the Checklist and Click the Trash Can icon next to the row involving their address.